
Grape juice is absolutely delicious, but if you’ve only ever had the store-bought stuff you don’t know what you’re missing. Making your own pure grape juice with that distinctive sweet and tart tang at home is a lot easier than you think, and best of all you can keep it at room temperature for at least a year tasting amazing!
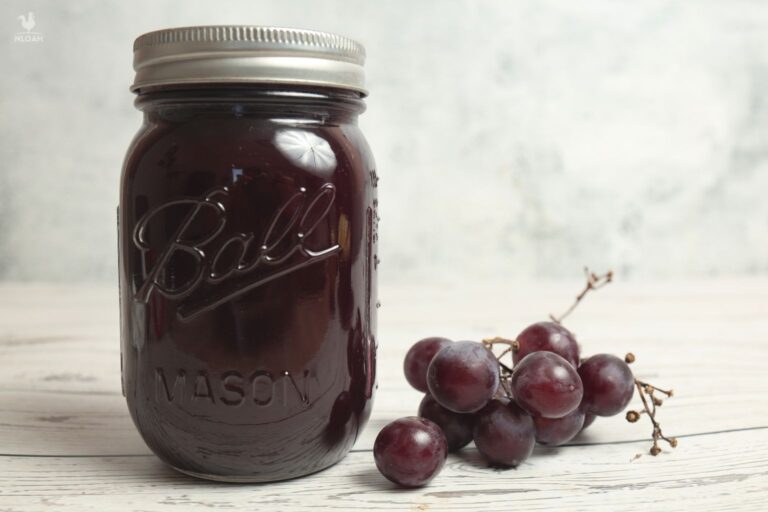
With just a little bit of work and time you’ll soon have a nice stockpile to add to your personal pantry. Today I’ll walk you through this NCHFP approved recipe. The one on their website is pretty brief, has several other links you need to jump to, and no photos… so keep reading for the detailed instructions!
What You’ll Need
Ingredients
Grapes: Grape juice comes from grapes, of course, and for this process you’ll need a lot, even to produce a small batch of juice. Plan on at least 16 pounds of grapes; that will yield around nine pints. 24½ pounds will yield around 7 quarts.
Note that you can use any kind of grapes you like (red, white or black) and you don’t need to seed them, but be sure to pick the ones that look and taste best (sweet-tasting, mature but not mushy).
Sugar (optional): A little shot of white sugar greatly improves most homemade grape juice. A pinch or two will do!
Water: For operating the canner and boiling the grapes.
Tools and Supplies
Water Bath Canner: whether you’ve got a new electric or an older stovetop water bath canner, you’re good to go for this recipe. Just make sure it’s clean and functional, and that you know how it works before you get started.
Saucepan, Large x2: you’ll need two large saucepans to make your life easy. One for simmering the grapes and another to pour them into during the filtering step.
Saucepan, Small: a small saucepan for boiling water to pour over the crushed grapes. A 1 quart capacity should be plenty.
Jars: this recipe works with pint or quart jars. I’ll be demonstrating with pints below. You’ll need nine pint jars or seven quart jars.
Lids and Bands: assuming you are using jars with disposable lids, you must use brand new lids with fresh, undamaged compound. Never reuse jar lids unless they are explicitly designed for the job and the jars they are going on. However, you can reuse your bands as long as they aren’t cracked, rusty or otherwise damaged.
Canning Funnel: vital for pouring the grape juice into your jars without making a huge mess.
Ladle: likewise, a good sized ladle really comes in handy for transferring the hot grape juice into the jars safely and controllably.
Jar Lifter: AKA jar tongs. Necessary for safely lifting and moving the soon to be red hot jars.
Cooking Spoon: a good, sturdy cooking spoon. Metal or plastic are preferred; wooden spoons are harder to sanitize, but if you choose hardwood or bamboo and clean them thoroughly, these can work as well.
Crusher/Potato Masher: you’ll need to gently crush and split your grapes during the initial cooking process. A specialized fruit crusher works best, but you can use a potato masher if that’s all you have. If you don’t have that, you can use your cooking spoon as long as it’s good and sturdy.
Jelly Bag: this will help you filter the large solids out of your finished grape juice. If you don’t have a jelly bag, you can use a double layer of clean cheesecloth.
Coffee Filter (optional): for extra clear grape juice, a final pour through a coffee filter will catch all of the tiny sediment that will otherwise appear in the juice. Not strictly necessary; this is personal preference.
Colander: helpful for giving your grapes a thorough wash in the sink without breaking them.
Cutting Board: self explanatory.
Knife: use anything you want as long as it’s sharp. A good paring knife is my preference.
Step by Step Instructions
Step 1: Clean everything. Before we even touch our grapes, take the time to give your cutting board, knife and saucepans a thorough wash in hot soapy water. Rinse them in hot water, too. Set them up on your stove and countertop so you are ready for the next steps.
Don’t worry about cleaning the canning jars, bands, and lids at this point. We’ll do that tomorrow…
Step 2: Wash grapes in cool water. Working in batches, thoroughly wash your grapes in the colander under cool, running water. I find that a sprayer is helpful for the job, but you can just rinse them under the faucet if that’s all you have.
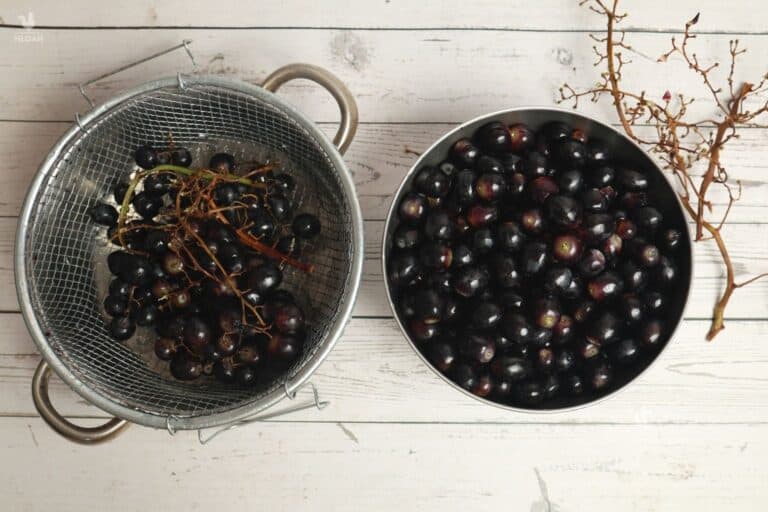
Step 3: Remove stems from grapes. Now for the hard part. Methodically pluck each grape off of the stems and make sure you get those little leftover bits out! They can make the juice bitter if you leave them behind. For any that get stuck, or any soft parts of the grapes, slice them off with your knife. Throw away the stems.
Step 4: Boil water in small saucepan. Bring about a quart of water to a boil on the stovetop and keep it boiling while you work through the next steps.
Step 5: Add grapes to large saucepan and crush. Add all of your grapes to the large saucepan and crush them to make room before adding more. You don’t have to completely pulverize them, just flatten them.
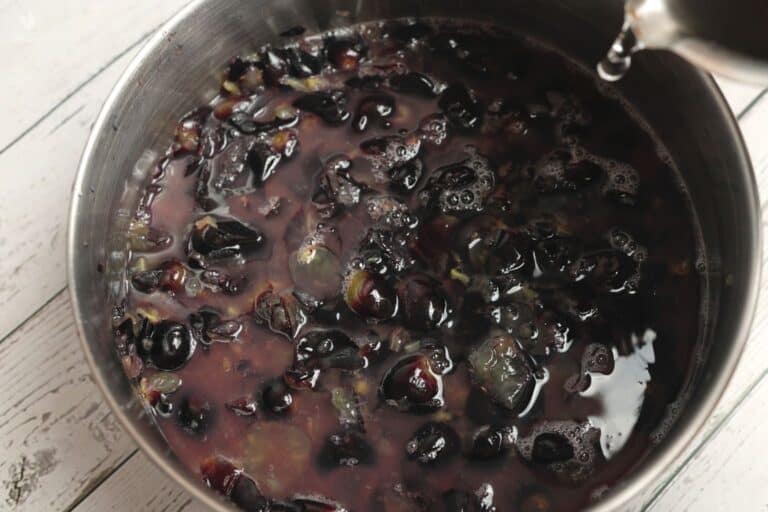
Step 6: Pour boiling water over grapes. Once all of the grapes are in the large saucepan, carefully pour the boiling water over them until they are just covered.
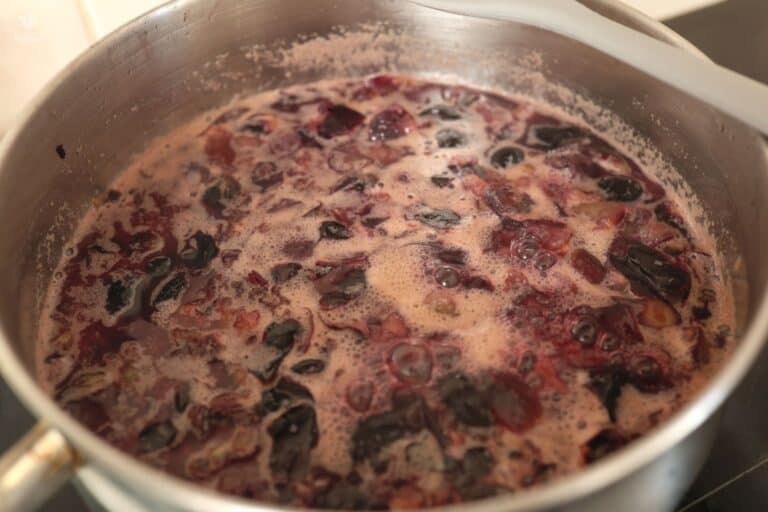
Step 7: Simmer grapes. With the grapes covered by the boiling water, turn the heat on the stove to high and bring them just up to a simmer. Keep them there for 10 around minutes, until their skins are softened and pulling away from the grapes’ flesh.
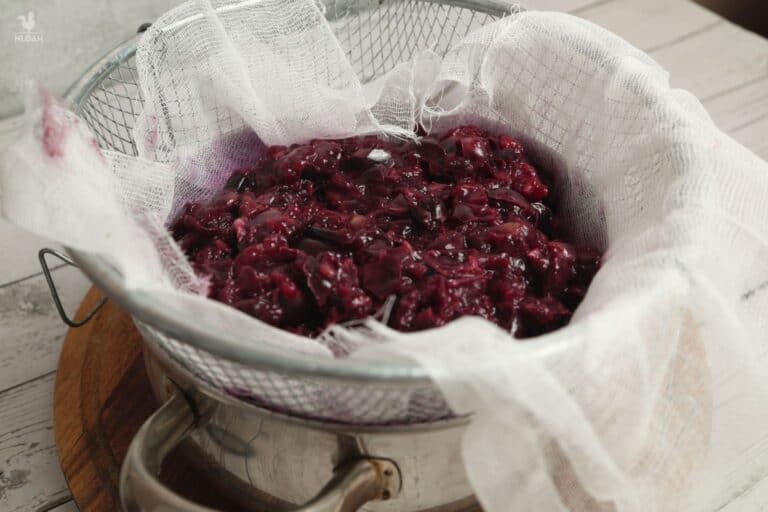
Step 8: Strain grape juice and chill. Once the grape skins are softened, grab your jelly bag and carefully pour the grapes into your second large saucepan. This will catch the skins, large solids and any other bits you don’t want going into your juice.
Set this saucepan aside on a cold burner, trivet or folded kitchen towel until it cools down enough to be placed in the fridge, then put it inside for at least 24 hours, and up to 48. Clean up for now and we will come back tomorrow.
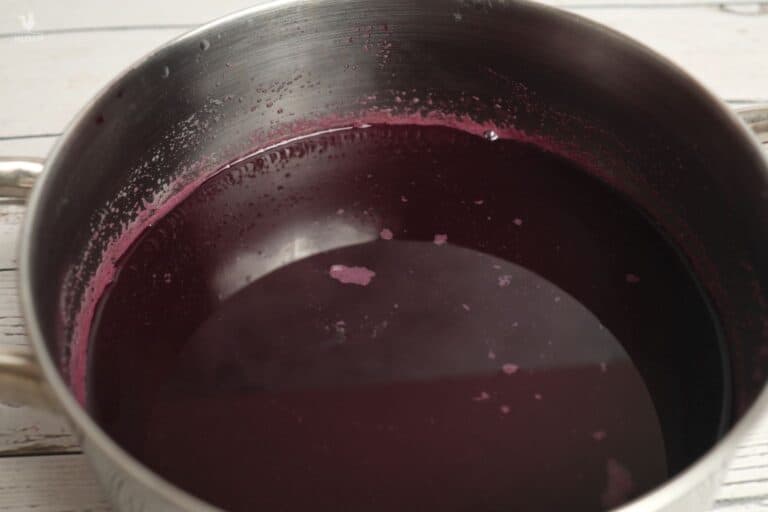
Step 9: Remove grape juice from fridge, strain off into saucepan. With your juice completely chilled, carefully remove it from the refrigerator. Take care not to stir, mix or swirl the juice, and gently pour off the clear liquid into a clean, large saucepan. Use a coffee filter during this step if you want extra clear grape juice.
Why move them from one saucepan to another? The point is to leave all of the sediment behind so we can throw it away – but any tiny flecks that remain in your juice won’t hurt it.
Step 10: Clean jars, lids, and bands.
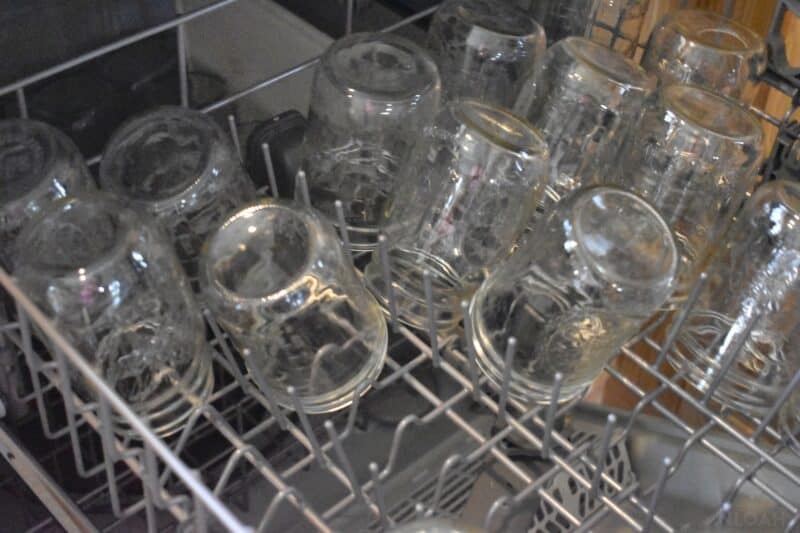
OK, now comes my favorite part: cleaning! Every time you can something, the first thing you should do is wash the empty jars. There are two options here… You can either do it by hand in hot, soapy water, or you can run them through the dishwasher. Do this even if the jars are new to remove any dust or debris that may be left due to packaging. If using a dishwasher, leave the door closed so the jars stay nice and hot.
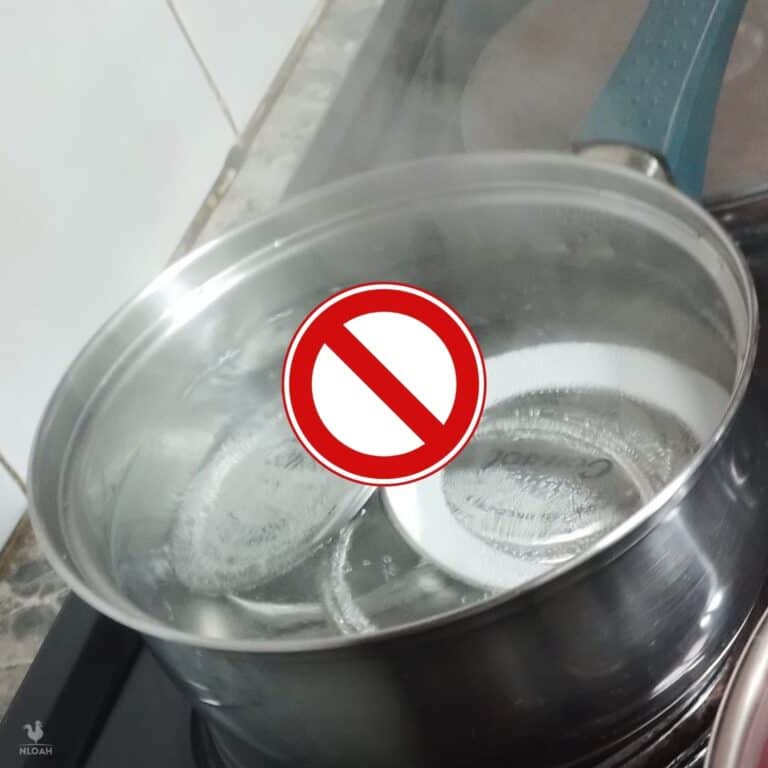
In the meantime, wash the bands and lids in hot, soapy water. Follow what the lids and bands manufacturers recommend, which is likely to wash them by hand in soapy water. Note that you should NOT boil or put the lids and bands in the dishwasher – this type of advice is obsolete, as it may interfere with the sealant on some lids.
Step 11: Sterilize jars at altitudes below 1,000 feet.
Now, if you live at altitudes below 1,000 feet (304.8 meters, you also need to sterilize the jars. And the only approved way to do this is to boil them for at least 10 minutes.
If you live at higher altitudes, pre-sterilization will take care of itself during the actual canning process – so you can skip step 11. But if you live below 1,000 feet, you need to do this…
Place your canner on the stovetop, add the rack at the bottom, then the empty canning jars, then enough water to fully cover them by 1 inch (2.54 cm) of water. Get the water boiling, and once it reaches a rolling boil, start a timer and set it for 10 minutes. When the 10 minutes are up, turn off the heat and leave the jars inside until you are ready to fill them.
Step 12: Boil grape juice, add sugar if desired. Place your saucepan of strained grape juice back on the stovetop over high heat. Bring it up to a boil. Add a pinch or two of sugar at this time and stir until it’s fully dissolved.
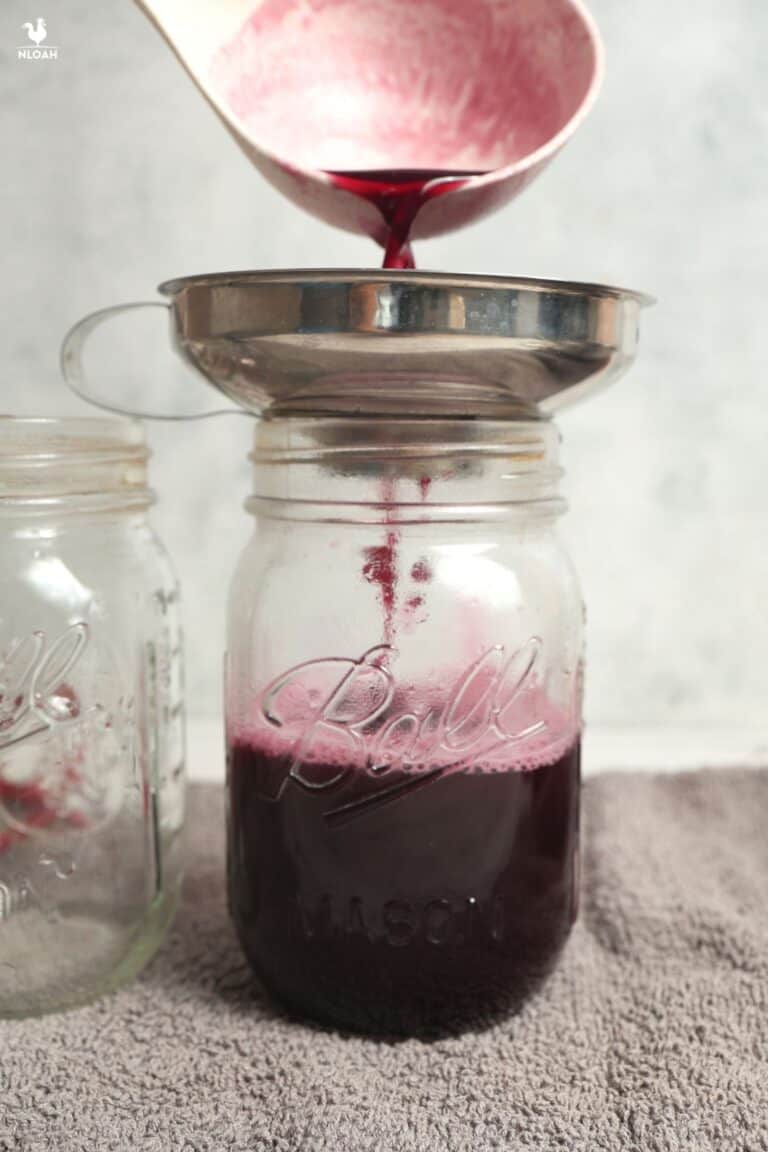
Step 13: Pour hot grape juice into jars. Set up your jars and grab your funnel and ladle. Pour the hot juice into the jars, making sure to leave a quarter inch of headspace at the top. Be sure to remove any air bubbles inside.
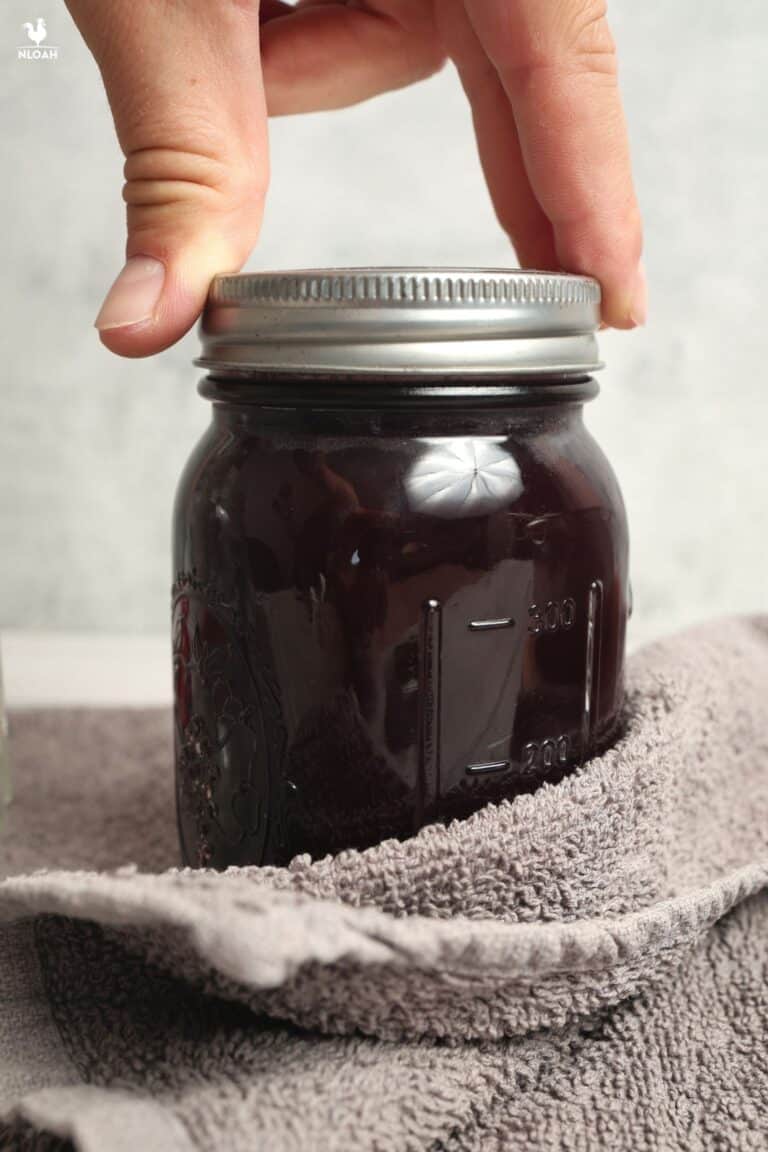
Step 14: Wipe jar rims and cap. Use a damp paper towel to quickly wipe off the rims of the jars. Then place a lid on each one and secure it down with a band, only finger tight.
Step 15: Load jars into canner. Using your jar tongs if required, carefully load the jars into the canner and on the rack you should have already placed inside, making sure you keep each one upright and level. Try to prevent the grape juice from sloshing against the lid.
Make sure that the jars are covered by at least one inch (or 2.54 cm) of water. Place the lid on the canner, and turn on the heat.
Step 16: Bring canner to boil and process. Turn the heat up on your canner and bring the water to a boil. Once the water is boiling, set your timer and process your grape juice according to the guidelines below, and maintain the boil the whole time. Note that these are the same for both pint and quart jars:
- If you are at sea level or up to 1,000 ft in elevation, process for 5 minutes.
- If you’re between 1,001 and 6,000 ft in elevation, process the juice for 10 minutes.
- If you’re above 6,000 ft in elevation, do it for 15 minutes.
Step 17: Cut heat, allow jars to rest. Once the processing time has elapsed, kill the heat to the canner and leave the jars in place for 5 minutes.
Step 18: Remove and cool jars completely. Using your tongs, and making sure to keep the jars upright and level as before, remove the jars and set them aside on a protected surface to completely cool. This will take anywhere from 12 to 24 hours depending on the size of your jar and the ambient temperature of your home. Be careful to protect the jars from cold drafts during this time or they could crack.
Step 19: Check lids. Once the jars have cooled completely, remove the bands, then do a lid test on each to check for a good seal.
Start by pressing the lid with a fingertip. It should not flex or move. The lid itself should look concave, meaning curved inward. Then tap each lid with the underside of a metal spoon. It should make a high-pitched ding, not a dull thud.
Next, pick up each jar and look straight across the lid at eye level; it should appear concave, not flat or bulging upward. If your jars pass this test, they are ready to store. If they fail, see the next section.
Step 20: Store and Done! You are all set. Stick your jars in a cool, dark place that is protected from direct sunlight and temperature swings. Your juice should taste great for at least a year, and last even longer. Enjoy!
Lid Test Failed. Is My Grape Juice Bad?
No! Your grape juice isn’t bad or unsafe because the lid test failed, but it won’t keep at room temperature for any length of time. You should treat it as unpreserved / perishable food – here’s what you can do…
The most trivial thing you can do is to open up that jar and drink it. It will still taste great! Alternatively, you can keep it in the fridge for a few days.
There is a 3rd option, which is to can the grape juice again – but only if this second canning happens within 24 hours from the first. Pour the juice into a new, clean jar and, using a brand new lid, reprocess it as detailed above. If the new lid passes the test, you can store it normally.

Get your gift and learn things like:
- how to make this really quick pest spray
- how to prevent egg waste
- two cheap automation devices that will make your life easier
Tom has lived and worked on farms and homesteads from the Carolinas to Kentucky and beyond. He is passionate about helping people prepare for tough times by embracing lifestyles of self-sufficiency.