I recently decided that it’s time for me to start collecting cast iron cookware. I wanted to get some for my survival stash, just in case I ever need to cook over an open fire.
Also, after reading the benefits of using cast iron, compared to the dangers of using the non-stick pots and pans that I’ve been using for years, I decided to start making the switch. As I began looking around I quickly discovered how expensive the stuff is!
I searched Craigslist and Goodwill for cast iron pots and pans, but still I found that they were too expensive even those places (in my mind anyways).
So, I began asking around. I spread the word among family that I was looking for cast iron stuff.
To my luck, my Mother-in-Law happened to have some extra pans stored in her basement that she was kind enough to let me have.
I also asked for cookware for Christmas, and was blessed to receive a beautiful cast iron Bread Pan.
Plus, you can buy lots of these secondhand if you don’t have someone to gift them to you, like I did!
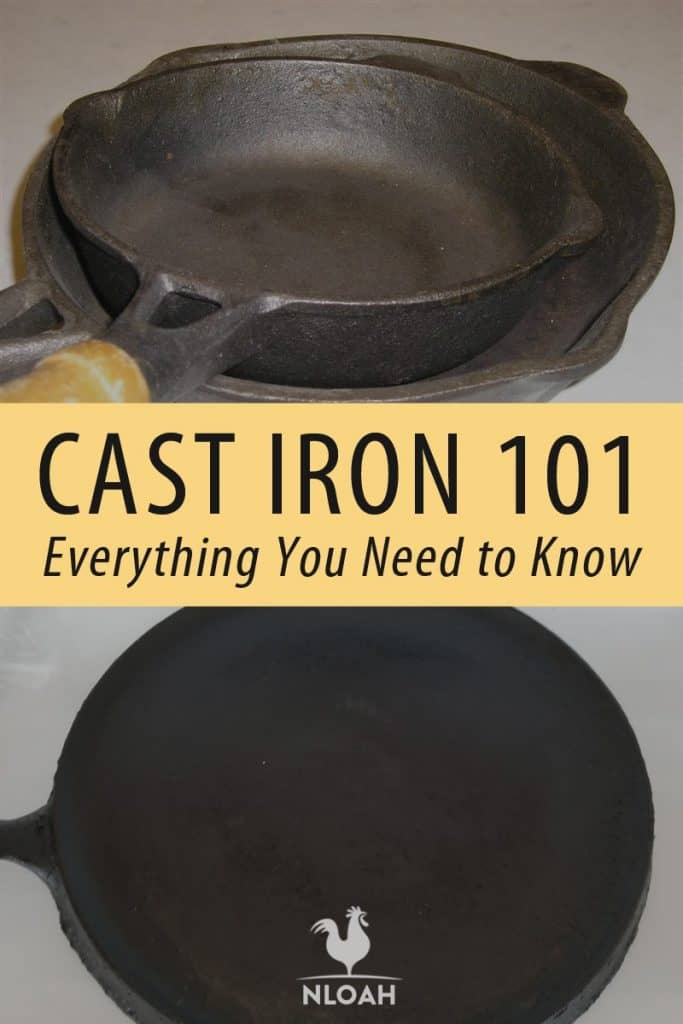
Why You Should Cook With Cast Iron
There are all kinds of excellent reasons to cook with cast iron. I’ll walk you through just a few of them.
- First, cast iron (which is technically an alloy of iron containing small amounts of silicon, manganese, and carbon) is incredibly durable.
- If you can find the right pan, it will also be super affordable.
- Cast iron retains heat well and can also handle super high heats. It doesn’t have all the harmful chemicals of nonstick cookware and can be used to cook just about any type of dish.
What’s really awesome about cast iron cooking is that you don’t need a ton of separate pots and pans to have everything you need for cooking.
You really just need three pans that can be used for boiling, frying, reheating, sautéing, searing, and cooking.
Cooking with Cast Iron Tips
For the most part, cooking with cast iron is just like cooking with other cookware. There are a few things you will need to keep in mind, though.
For one, you should never use plastic utensils.
Cast iron gets super hot, and plastic can leach into your food when you cook with it. Therefore, you should only use wood, stainless steel, or bamboo utensils to flip and stir your food.
You should always preheat your cast iron pan, too. Cast iron is good at retaining heat, but unlike what some people assume, it’s not the best at conducting heat.
Therefore, you will want to let it sit at low heat for at least five or ten minutes before you begin cooking. This will help it get nice and hot!
Similarly, your pan needs to be super hot before you try to flip food. If you’ve ever tried – and failed – to cook pancakes in a cast iron pan, finding that they stuck too much the pan, you’ll likely find that you are more successful if you let the pan heat up first.
Remember that cast iron can be used on more than just the stovetop, too! This is where it becomes really versatile. You can do anything in cast iron.
Whip up a batch of cinnamon rolls or make some lasagna in your pan. Yes, you can cook with the pan inside the oven, and you can even use it on a grill or campfire!
Just be careful using acidic ingredients in the pan. You may find that metallic flavors seep into your food a bit.
The main thing here is just to practice and experiment. The more you use your pan, the better you will get at cooking with cast iron.
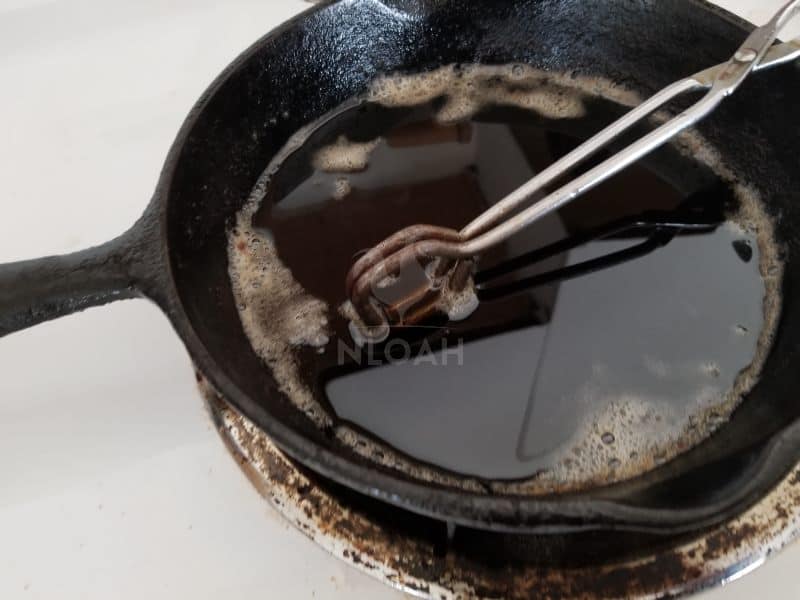
After cooking with cast iron, try to leave a little oil in the pan. This will help improve the ability of the pan to resist sticking and will also help prevent rust. If there’s no oil left after you cook, add a little bit of oil or bacon grease to the pan to keep it sealed.
When you’re storing your cast iron pan, don’t just throw it around. I know, cast iron pans can be super heavy, and accidents do happen.
But although cast iron pans are pretty heavy duty, tossing them around can lead to cracks and chips. Be careful, in particular, when moving your cast iron pan on a glass or electric cooktop, as the weight can damage the surface of the range.
Cleaning
After cooking, use a stiff brush to clean the food off. You can boil water in the pan to help loosen stuck on food. Using soap is not recommended. It can remove all the hard work you put in to season your pans.
Do not put in dishwasher.
Towel dry immediately and completely. While it’s still warm, apply a very light coating of oil (or shortening) to the inside of the pot or pan.
Do not let it air dry, this can cause it to rust. Instead, put the pan back on the burner on low heat and let it sit until all moisture evaporates.
Some people use a kitchen towel to wipe their cast iron pans clean, which you can do if you really want to, but it’s going to stain your towels an unappealing brown.
Store in a cool, dry place. You can store it inside your oven, just make sure to take it out before pre-heating.
I know this sounds like a lot of steps and “do-not-do’s” but honestly, cleaning cast iron is not difficult. The less you clean it, in fact, the better! You often need to just wipe it clean or rinse it.
Even if you have stuck-on food, it’s easy to deal with. Just scrape out the remains.
If there is anything left after that, fill the pan with water (only enough to cover the pieces of food) and then let the pan while you’re eating. As long as the cast iron has been seasoned properly, the food should come right off.
Re-Seasoning
You need to re-season if your cast iron gets rusty, if food is sticking to it, or if it loses it’s shine and turns a dull, gray color.
Wash with hot, soapy water and a stiff brush, until all the gunk is cleaned off.
Rinse and dry completely.
Apply a very thin, even coating of melted vegetable shortening (or cooking oil of your choice) to the cookware (inside and out).
Cover the bottom rack of the oven with aluminum foil (to catch drippings)
Preheat oven to 350-400*.
Place cookware upside down on top rack of oven.
Bake for at least an hour, then turn the oven off and let it cool in the oven.
Store in a cool, dry place.
** Important note: DO NOT put your pan in the oven if it has wooden handles!
In my case, I do have some cast iron pans with wooden handles. So how do I season them??
- If you can, remove the wooden handle before placing in oven (fortunately for me I discovered that mine do come off).
If you can’t remove the handle:
- Follow the same cleaning method as above in the re-seasoning section, but only grease the inside of the pan. Do not grease the outside.
- Instead of putting it in the oven, set it on the stove top over Med-High heat and watch carefully.
If you have NEW cast iron cookware it may have a wax coating that will need to be removed before you use it.
Place your cast iron upside down in your home oven. Use a cookie sheet under your cast iron to catch any wax drippings.
Set oven to about 300* to melt off wax coating. When burning off the wax on your cookware, the wax may smoke. Watch it carefully.
When smoking stops, your cast iron is ready for seasoning. Remove from heat source and let cool. Wash and dry thoroughly with hot water to eliminate any deposits.
Next follow steps above. Your cookware will be beautifully seasoned, and ready to cook on!
Final Words
When I started using my pans, I constantly forgot that the handle was hot, and kept grabbing it.
I told my friend, Ms. Addy, about my problem, and the next time I saw her she gave me some handle covers for cast iron pans, made by Lodge.
If you don’t want to invest in the covers, just remember to use a towel or something else to protect your hands when you’re working with the cast iron.
They just slip onto the handle and protect your hands from burns. I LOVE them!! That was so sweet of her to give them to me!
Now I realize that this all sounds like so much to do, but really it isn’t that hard. Once the cookware has been seasoned it will last a long time as long as you care for it properly.
Just wash and dry it right away, and grease it lightly before storing again. It’s really that simple.
Now that I have some, I love them. And I feel so much better feeding my family from the cast iron pans instead of the non-sticks!
updated 04/11/20202 by Rebekah White

A city girl learning to homestead on an acre of land in the country. Wife and homeschooling mother of four. Enjoying life, and everything that has to do with self sufficient living.
I inherited a cast iron from my husband’s grandmother and we LOVE it! My goal this summer is to look at yard sales for more cast iron as its pretty much a dime a dozen around here especially at auctions and estate auctions. The other pots that we have are stainless steel and I have a ceramic baking stone. I haven’t read any bad reports about the baking stone and as far as I’m concerned its better than teflon! If anyone has heard or seen bad reports from ceramic baking stones please let me know!!!!
I LOVE castirons! 😀
I have several skillets, a waffle iron, and dutch ovens that are all cast iron. They really are worth having.
I especially love cooking in my dutch oven outdoors to keep the heat outside. Dutch ovens will take any heat you give it to cook food.
I like the waffle iron too. I got the cast iron waffle iron from lehmans.com for about $20. Pricy but will last a long time. It so nice because I can take it camping and use it over the camp fire to make waffles for breakfast. 🙂 My kids really like waffles.
I hope you’re able to find everything you need in cast iron. One way or the other, I know you won’t regret it.
Siska
I’ve discovered that lard seasons my cast iron best! We got some with the 1/2 pork we puchased last fall. I tried baking spray, liquid oil, and vegetable shortening. The skillet was sticky, and food was sticking. Then I remembered the lard and gave it a try. It works great!
I’m very glad to see how you are becoming a true “homestead” gal. Cast iron pots are the only way to go as far as I am concerned. Some more tips you might like to know from this old lady on it’s care…
If by chance you do burn something in your cast iron cookware, Fill 1/4 of the way up with water and add 1 Tablespoon of BAKING SODA. Bring water to a boil but watch carefully as it will fizz over quickly. Turn down heat to a simmer for about five minutes and the burnt on food will float away. Pour out and rinse then re-season inside of the pot.
ALWAYS dry pan on top of a burner on low-med heat when you get done cleaning the pan out with nothing but hot water and a metal scrubby. Your seasoning will last much longer if you dry them this way.
Leave your cast iron in your will for the next generations. I have some from the 1800’s that a sweet southern gal gave me many years ago and my sis has cast iron from my dads great grandmother even further back than that!!! It NEVER wears out if it is taken care of and will make your foods more nutrient rich with iron. It’s a win-win all the way!
deb@ The Bamboo Jungle in AL