I have to say, I’m having withdrawals from my new friend Mrs. Addy. I haven’t gone to see her this week, and I’m just bursting at the seams with questions!
It’s hard to find excuses for me to go to her house without just saying, “Uhh… can I come over?” But today I was going nuts wanting to get up with her again, so I called her and asked her if she was planning on going to the mill any time soon.
I told her I’d really like to go sometime. She said she’d be happy to take me, so we’re planning on going some time next week (hopefully!).
Although I don’t have another meeting to share with you, I have remembered just a few things from my last visit that I forgot to share. So, here are a few tidbits on saving money from the Queen of Frugal herself:
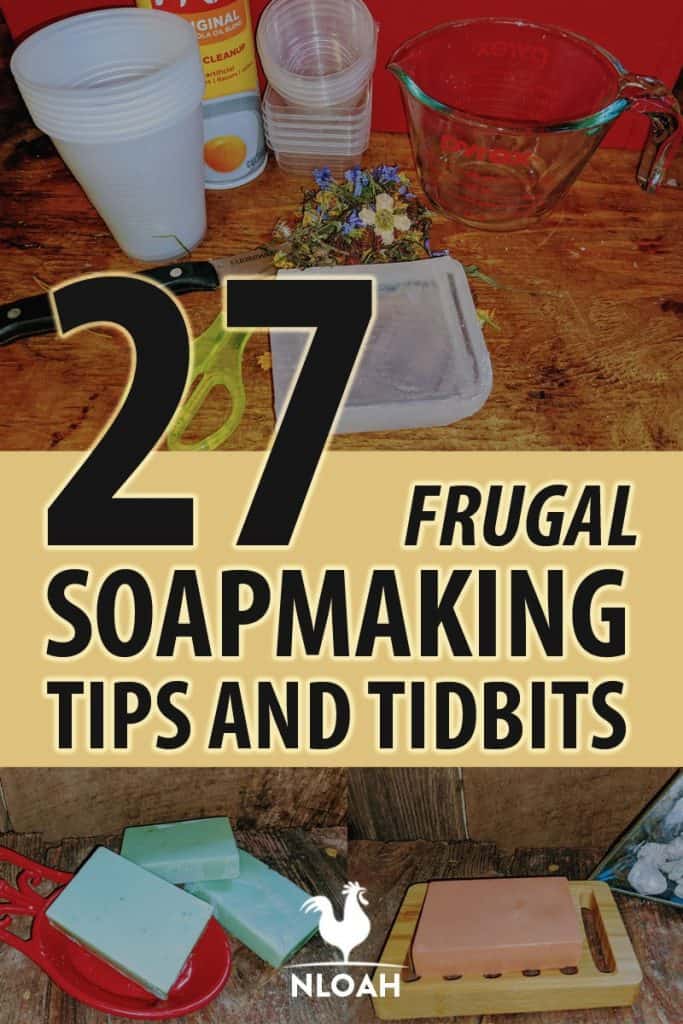
As I’ve mentioned before, she makes her own bars of soap for her family and also sells them at the Farmer’s Market. Well, she showed me a frugal little trick she uses to make decorative soaps.
Instead of buying a costly soap mold, she has used the plastic tray that chocolates came in to make small, decorative soaps.
She also pours the soap into a PVC pipe, and once it’s hardened she just pushes it out and slices it however thick she wants it.
Personally, she prefers the thicker, round soaps ’cause she says they are the perfect size for your palm. ( I think she said she also uses cookie cutters as molds. )
After talking with Mrs. Addy, I was inspired to do a bit more research into how to make soap in a frugal way. Here’s what I found.
Use Sunflower Oil Instead of Vitamin E – and Use Herbs
Did you know that sunflower oil is naturally high in vitamin E? It has other nutrients that are great for your skin, too – plus it’s pretty easy to find in most stores.
Start Small
It’s very easy to want to go crazy with your soapmaking, especially when you see all the cool ideas out there. Dancing Funnel Technique, anyone? But it’s important that you start small as a beginner to avoid getting overwhelming.
Try using just a single essential oil or fragrance. Once you’ve mastered the art of making soap, you can adapt recipes and play around with the scent, design, and color of the soap later.
Make sure you take the time to research all the ingredients you intend to use, too. Find out exactly how they behave in soap. Sometimes, ingredients will discolor or react poorly when combined with other ingredients.
Some additives, like fragrances, can accelerate a chemical reaction and can make your soap thicken too quickly. Find out exactly how to use anything you plan to add to your soap.
Grease Your Molds (And Measure!) Ahead of Time
Do as much prep work ahead of time as you can. One thing I always recommend beginning soapmakers do before getting started is to grease their molds.
You’ll save time and effort by greasing ahead of time.
Don’t want to grease your mold? Use a silicone mold. There will be no greasing required.
Similarly, try to measure your ingredients ahead of time. It will let you get everything ready for when you need it, but it will also give you a heads-up ahead of time if you are out of something and need to pop out to the store before you get started. Prepare all of your extra additions ahead of time, too.
Get everything prepped ahead of time – I can’t emphasize this enough. The most annoying thing when making soap is having to stop to prepare something when your soap is already at trace and thickening.
Have everything prepared and ready to go. Pre-mix anything that needs to be mixed and measure out your ingredients, too.
Mix Oil with Powdered Pigments
If you mix your powdered pigments with oil, you’ll have fewer clumps than if you used the alternative (water).
Mix Lye Ahead of Time and Give it Time to Cool
Make sure you label it, but otherwise, use cold lye. All you have to do to compensate is to make your oils 125 degrees.
This can balance out your soapmaking and make the mixture much easier to work with.Honestly, temperature isn’t as important as you think it is. You can avoid a ton of heat if you know what you’re doing.
In fact, if you get the soap too warm, certain reactions can occur that can affect the overall outcome of your soap. Instead, remember that lye and oils don’t necessarily have to be at a certain temperature.
Stay Stocked Up on Supplies and Buy in Bulk
This is such a great tip not just for making soap, but really, for anything in life. Buy in bulk and stay stocked up! You never know when you might need something and the store will be fresh out.
Instead, pick up any extra soapmaking ingredients you need when you do your regular shopping. Fewer chances for running out that way!
Plus, if you make a lot of soap, buying in bulk will save you money in the long run (even if it is a bit more expensive upfront). If you’re a business, you can buy your soap ingredients wholesale to save you even more money.
Make sure that you have everything you need ahead of time, including:
- Rubber gloves
- Goggles
- Two large mixing bowls made out of enamel, glass, plastic, or stainless steel (no aluminum, tin, plastic, or wood, which can react with lye)
- Mixing and measuring spoons
- A scale for measuring liquids
- Candy thermometers
- A mold
- Rags or paper towels for cleaning
That’s not even counting your main soapmaking ingredients, like lye, fragrances, and essential oils.
Add Some Beeswax
Beeswax can prevent soda ash, so make sure you add it. Alternatively, you can always use plastic wrap on top of the soap before closing it for the first rest.
Less Is More…
You don’t need a ton of fancy equipment when you’re just getting started with soapmaking. Instead, just make soap in your kitchen. That’s what I do! You don’t even need to dedicate a lot of your time to making soap.
In fact, it’s unlike other hobbies (like canning or baking) in that you don’t need to dedicate entire days or afternoons to do it. Just make smaller amounts and remember that it doesn’t take much time to finish up a batch!
… But You Should Invest in a Dedicated Cutting Board
I don’t really like using the same cutting board I use to prepare vegetables and meats to cut my soap on. it seems like no matter how clean I get it, it’s still never quite clean enough afterward!
Therefore, I invest in a special cutting board just for cutting soap. No more risk of getting soap remains in your chicken alfredo!
You can also draw a few lines on the cutting board that will help you out a ton as you are cutting your bars of soap. I have a shaky hand, so this is essential.
Add Warm Honey
If you’re adding honey to your soap, warm it up first. Cold honey is not only hard to work with, but it tends to clump and stay congealed.
Use Vinegar
It’s no fun getting lye on yourself! Be prepared ahead of time by pouring some vinegar onto clean rags. This is an inexpensive way to make sure you’ll always have something handy to dab off the lye.
Consider Using a Lye Calculator
Don’t spend a ton of money on buying lye you won’t ultimately need. Instead, use an online lye calculator to figure out how much you’ll need for making certain oils into soap.
Wait a Few Days to Clean and Hold Off on the Laundry
Don’t clean up right way. Instead, wait a few days (three to five) before trying to clean your equipment. Try to do it right away, and you’ll end up with a greasy mess on your hands.
Wait long enough, and the mess will just turn to soap. You can soak it in hot water and you won’t even have to scrub the equipment.
You should also wait to wash all of your soapmaking towels and blankets until you have a full laundry load. You won’t need any detergent and the glycerin in soap will soften the fabrics. This way, you won’t have to worry about the laundry dirtying your other clothes or fabrics, either.
Donate Extra Bars to a Food Bank
Have a few extra bars of soap left over – particularly those that might look a little less than ideal?
There’s nothing wrong with checking n with your local food bank or homeless shelter to see if they need personal care items. Chances are, they won’t care how they look, either.
Shop Thrift Stores
Don’t spend top dollar for your soapmaking supplies. You can pop by a thrift store for blankets that can be used for cleanup and for covering soap.
Most of the time, people don’t want them – and who cares if the blankets are stained? You’re probably going to stain them even more, anyway.
Inhale the Scent of…Coffee?
Before you check the scent in your final soap, take a deep breath of a cup of coffee, or of some coffee beans. This will clear your nose and give you a better feeling for the actual scent.
Common Soap Making Mistakes
With those tips in mind, try to avoid making these common mistakes while you are making your own soap.
Not Doing Your Research
It’s so important that you take the time to look into every aspect of your soapmaking! You need to learn the ropes before you get started.
Watch as many videos as you can before you get started, and make sure you understand how and when your ingredients should be used:
Not Preparing Ahead of Time
I already mentioned this in my tips, but it bears mentioning again – do all of your prepwork ahead of time! Trust me, you’ll thank me.
Failing to Test New Ingredients
If you’re adding something new to your soap, don’t add the new ingredients to the entire batch all at once. Certain ingredients can really impact the outcome of the soap.
For example, certain fragrances can cause the soap to separate. If you test just a small batch, you won’t have to discard that much – but if you do this to a full batch, you’re going to have a lot of ruined soap.
Putting Molds in the Microwave
Don’t put molds in the microwave this can cause them to warp.
Using Food Coloring in Soap
Some people assume they can use food coloring in their soap with no problem. Unfortunately, food coloring can stain your skin when you later use the soap.
Using Fragrances That Aren’t Bath & Body Safe
Make sure you are using ingredients that are safe for use in cosmetics and soap. Some are only meant to be used in candles, and they can harm you if you use them on your skin.
Not Measuring Accurately
Take the time to get some accurate measurements. An inaccuracy as small as 1/10th of an ounce can cause your batch of soap to fail. The smaller the batch of soap, the more accurate your measurements need to be.
Failing to Experiment With Various Types of Soapmaking
Believe it or not, there are multiple ways you can make soap! Experiment with a few of them to get a good idea of which one works best for you. The three main types of soapmaking include cold processing, hand milling, and melt and pour.
Not Realizing That Lye Can Be Dangerous
One of the main ingredients in soap, lye, can be seriously dangerous. Sure, people have been making their own soap at home for centuries, but you need to be careful handling this chemical so you don’t burn your skin or eyes. Plus, remember that lye can seriously degrade materials.
If you get lye on your skin, put vinegar on it immediately to neutralize it. If you spill lye on a surface, wash it immediately with detergent and water. Plus, remember that lye fumes can also be caustic, so you need to work in a well-ventilated area.
Giving Up
Making soap can be tough! But don’t get discouraged. Mistakes happen and, after all, that’s how you learn. Therefore, it’s important that you never miss an opportunity to learn and improve your next batch. Practice makes perfect, after all!
Best Homemade, DIY Soap Recipes
If you’re looking for some awesome homemade soap recipes to get you started, here are a few of the best. Of course, you can always make your own recipe (which is, in fact, one of the best tips I have for frugal soapmaking!
However, it’s often best to get started with a recipe that someone else has created so you don’t have to worry about proper measurements and ratios as you’re just learning the ropes.
- Honey and Chamomile Soap
- Milk and Honey Soap
- Flower Infused Milk Soap
- Natural Orange Cold Process Soap
- Honey and Coconut Oil Body Wash
- Gentle Cold Process Baby Soap
- DIY Homemade Bar Soap with Essential Oils
- Green Tea Soap
- Easy Homemade Goat Milk Soap
- Coconut Oil Liquid hand Soap
- Lemon Poppy Seed Hot Process Soap
- Calendula Soap
- Bumblebee Apothecary Tallow Soap
- Rosemary Mint Shampoo Bars
- Watermelon Cold Process Soap
- Uplifting Orange Soap
- Homemade Lavender Soap
There you have it! All kinds of tips and tricks for making your own soap – and on a budget, too!

A city girl learning to homestead on an acre of land in the country. Wife and homeschooling mother of four. Enjoying life, and everything that has to do with self sufficient living.
“To me, they do not seem poor. They do not seem needy or deprived. To me, they are far richer than the world understands.”
Great words, beautifully written!
Dear friend, I have read all of these about Mrs. Addy, and I LOVE THEM! Great great posts…and So informative!!!!! ;D ((hugs)) to you! ;D Thank you so much for sharing! –S