Where has this tool been all my homesteading life?
Seriously. I’m in love.
Just a couple of months ago I was searching the internet, and just happened to come upon a product called The Soil Blocker. It was the first I’d ever heard of it, and I was intrigued. The more I read what others were saying about it, the more I knew I must give it a try.
I’ve been using one of these for a little over three weeks now, and I can’t imagine ever going back to starting seeds in cups or flats again.
What Is A Soil Blocker?
Basically, a Soil Blocker creates cubes of compacted soil to start seeds in. With the Soil Blocker, you’ll never need another container to start seeds in again. So long billions of yogurt cups cluttering up my greenhouse!
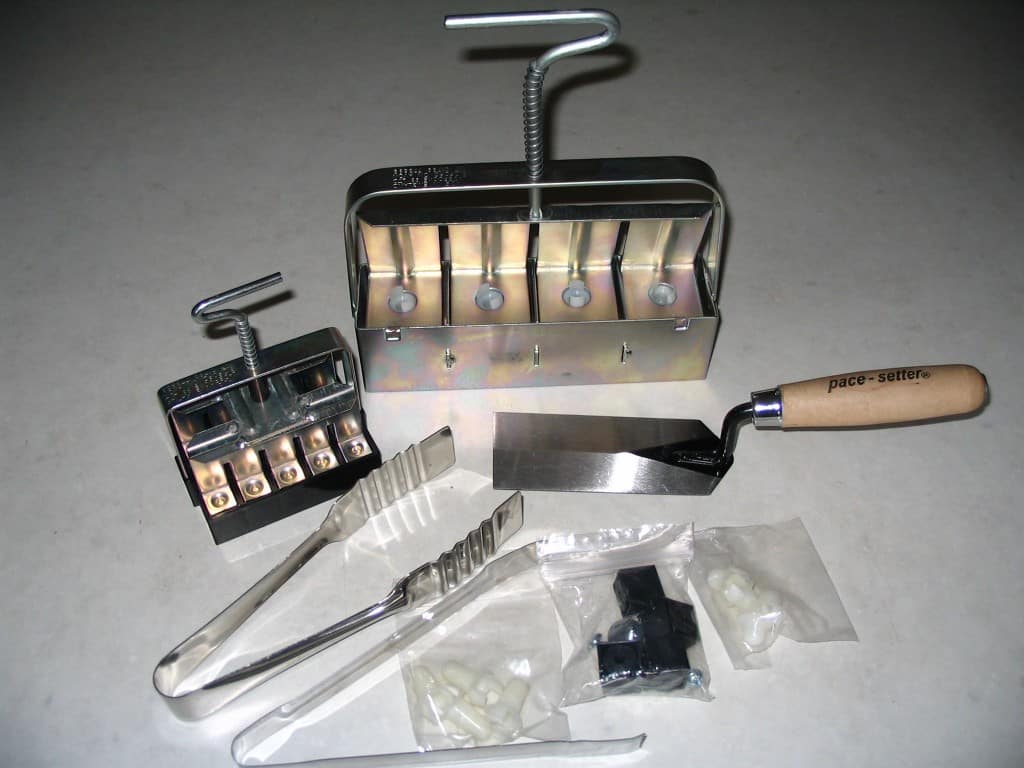
Here’s what’s included in the kit:
- 1 – Micro block maker. It makes 20- 3/4″ cubes. (Good for starting small/medium sized seeds.)
- 1 – Mini 4 block maker. It makes 4- 2″ cubes.
- 4 – Cubic Pin Inserts (3/4″ cubed). These make an impression the size of the Micro blocks into the larger soil blocks. When your seedlings have outgrown their 3/4″ soil cube, you can transplant into a larger soil block using this pin insert.
- 4 – Dowel Pins (1″) for sowing large seeds like squash, peas, beans, corn, melons, cucumbers, and zucchini.
- 4 – Seed Pins (5/8″) for sowing most small and medium sized vegetable and flower seeds.
- 1 – Small grow tweezers for gently transplanting the micro blocks into the 2″ block or directly into the garden.
- 1 – Big grow tweezers for separating, transplanting, or transporting your 2″ blocks anywhere.
- 1 – Dagger-Style Trowel for digging, transplanting, weeding.
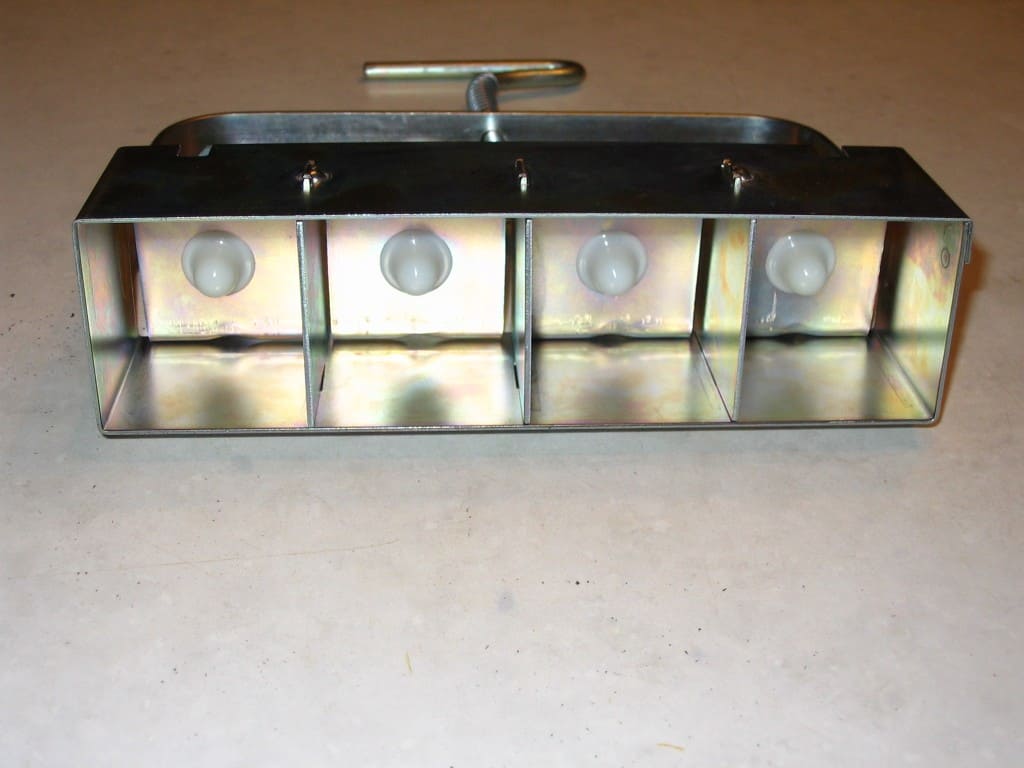
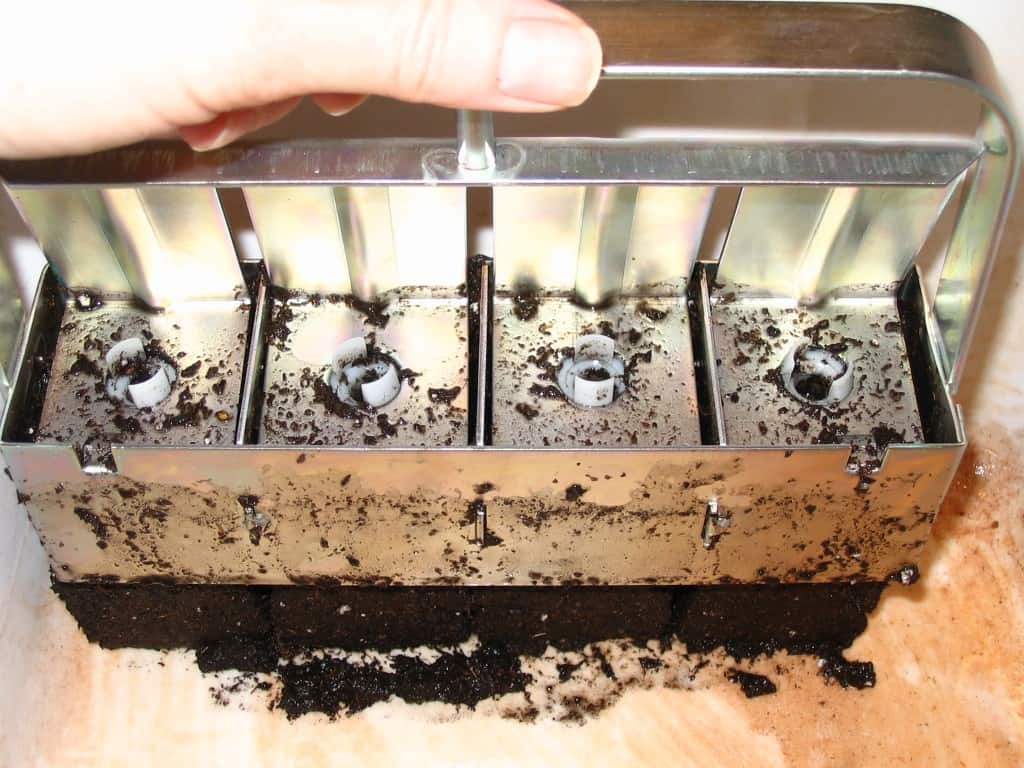
Here’s a view of the underside of the Mini 4 Soil Block Maker. Those white pins that you can see inserted into the top of the blocker make an impression in the soil for easy seed planting. You can change out the pins with the others included in the kit, depending on how deep you want to plant your seeds into the block. The bigger the seed, the deeper the planting hole needs to be.
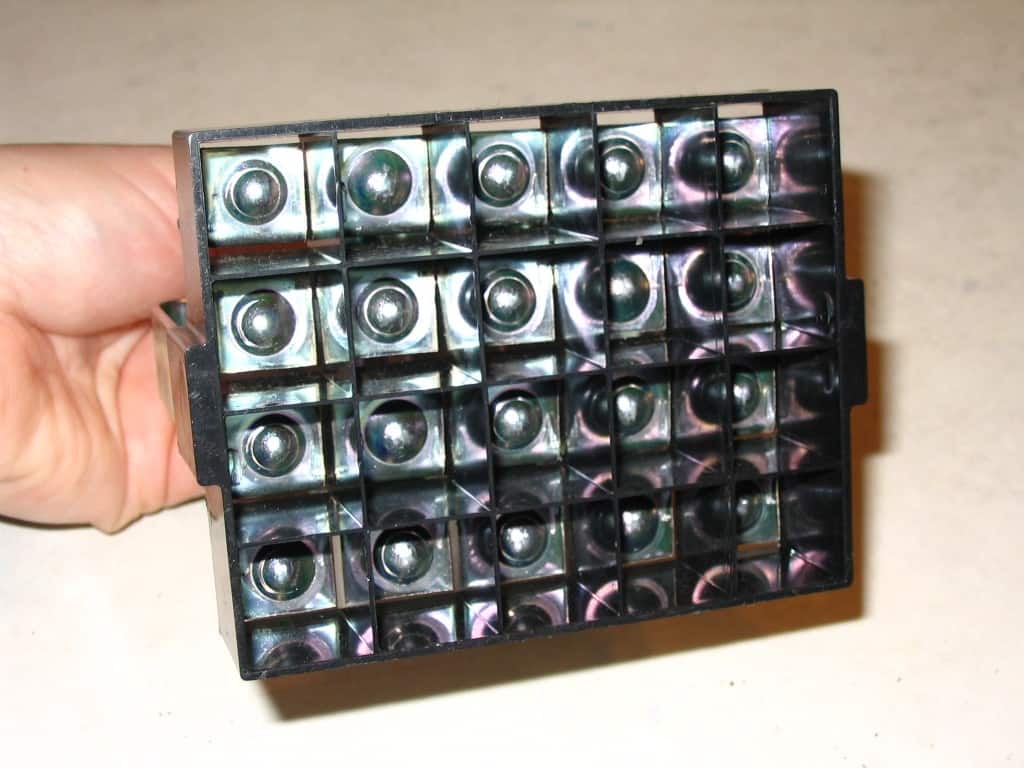
Here’s the underside of the Micro 20 Soil Block Maker. Again, it makes 20 little 3/4″ soil blocks. I’ve found it to be perfect for starting onion seeds, among other things.
How Do You Use a Soil Blocker?
Creating your own blocks of soil couldn’t be easier. The first thing you want to do is gather the right seed starting mix.
You can make your own using suggested recipes, or you can grab a bag of Miracle Grow Seed Starting Mix or Jiffy Seed Starting Mix, both of which I have found to work very well with the blockers.
Making your own mix will save you some money, while buying bags of already mixed seed starter will save you time.
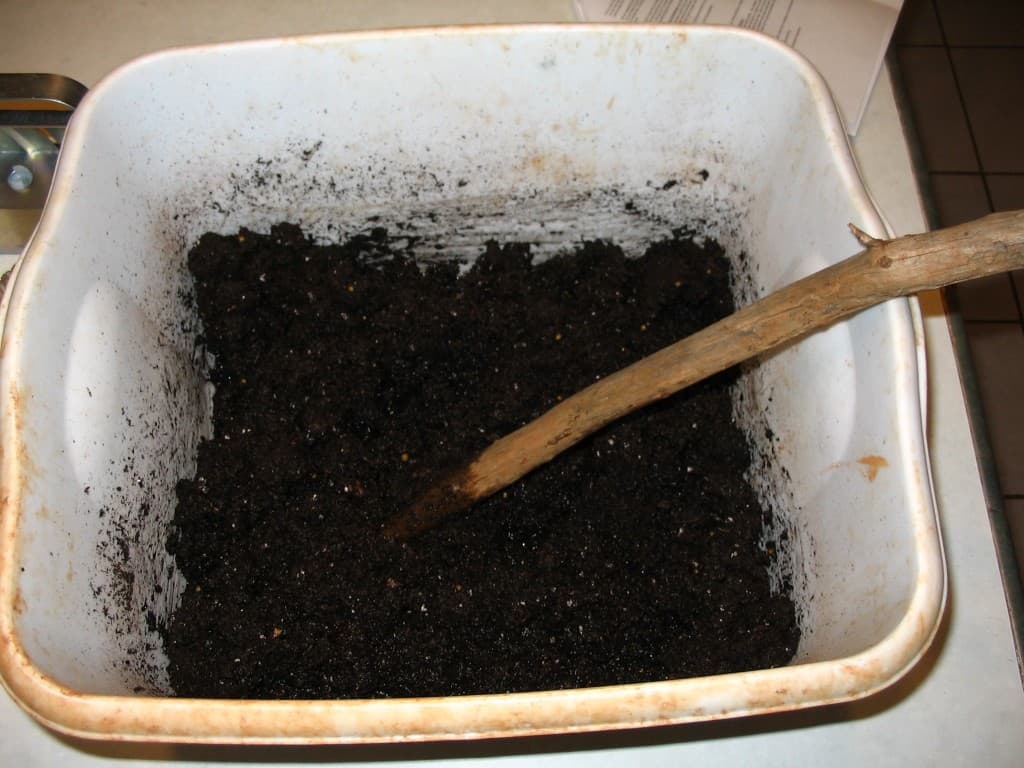
First, pour seed starting mix into a tub or container. Make it about 3 in. deep. Add enough water to get all of the soil wet, but not saturated so that the water is puddling in the bottom of the container.
Too much or too little water, and the soil won’t hold together as a block. It’s recommended to mix it to an “oatmeal consistency”. Stir together to thoroughly moisten.
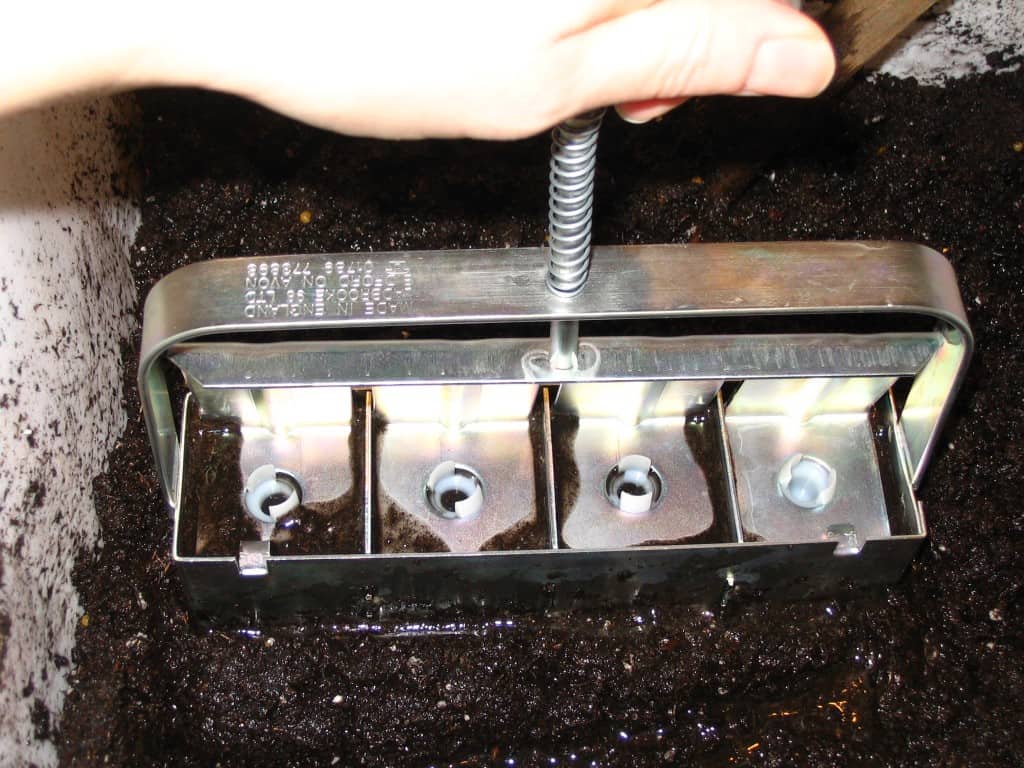
Plunge the soil blocker into the wet mixture. There will be a suction created, so it’s important that you scrape the blocker on the bottom of the container, and tip it up as you lift to break the suction.
Plunge the blocker back into the soil again several times, packing the mixture into the blocker as much as possible.
If the soil isn’t staying in the blocker, it’s probably either too wet, too dry, or you aren’t breaking the suction before lifting the blocker off the bottom of the container.
You should see liquid seeping through the top of the blocker as you compact the soil (see photo above).
When you think you’ve got the blocker filled, tip it up so that you can see the underside and make sure all of the blocks are packed in well.
Scrape the excess soil off the bottom of the blocker by rubbing it along the bottom or side of your container, so that the base of your soil blocks is flat and sits level.
You’ll want to have a tray or something to carry the blocks in. I used nursery trays and shallow boxes lined with a plastic garbage bag to retain moisture.
When your soil blocker is packed, move it over to your trays. Put the blocker down into the tray, and push down on the handle while lifting up with the blocker. This will eject the soil blocks from the gadget.
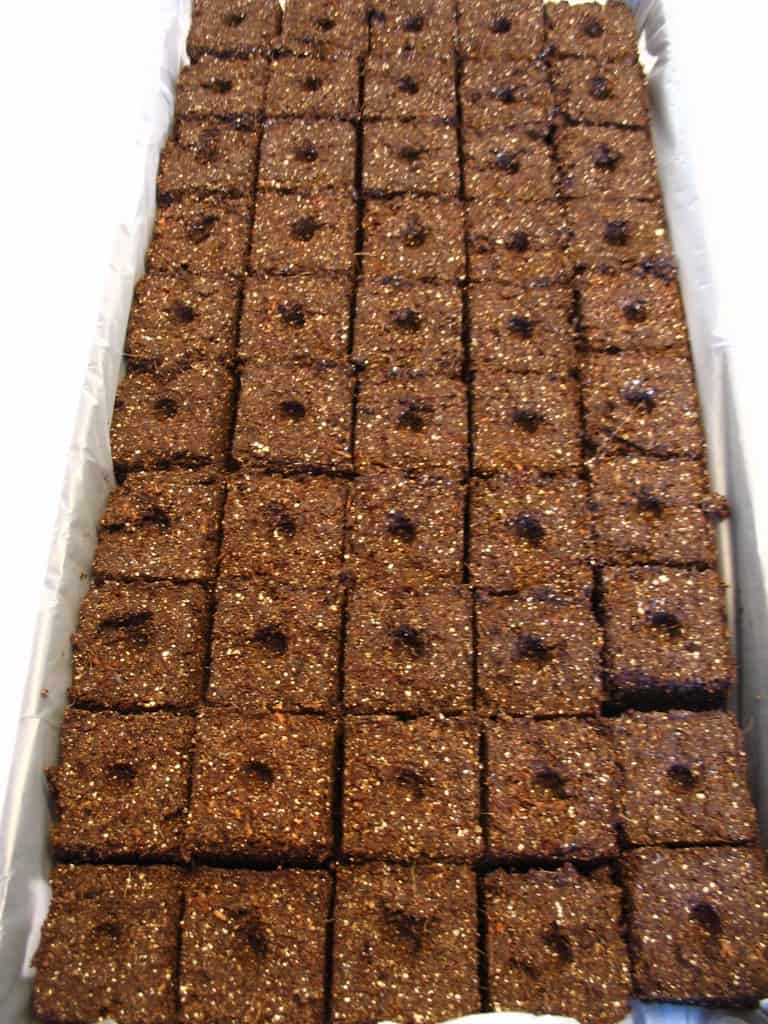
Continue these steps until you’ve filled your tray or box with soil blocks.
See the indent in the top of the blocks? The pins make that perfect little hole to place your seeds in. Pretty cool, huh.
Starting Seeds in a Soil Block
Once you have your soil blocks all made, it’s time to plant in them! If you’ve never started seeds indoors, please refer to my post What You Need To Know Before You Start Your First Garden. The How To Start Plants From Seed section will be helpful.
I recommend that you place one seed in each soil block. Some people say plant two or three, just in case you have a poor germination rate.
But I’ve found it to be incredibly wasteful to plant more than one seed and then have to thin them out later. If you have empty blocks where seeds didn’t germinate, just replant them.
Cover larger seeds back over with soil. Very tiny seeds, such as onion seeds, only need to be very lightly covered.
I actually filled the holes in a little for the smaller seeds, then sprinkled a little bit of dry seed starting mix over the seeds, and spritzed with a water bottle to moisten.
If you plant tiny seeds too deeply, the growing plant will run out of energy before it breaks through the surface of the soil, and it’ll die.
Pros & Cons of Starting Seeds in Soil Blocks
There are many good reasons to use soil blocks for starting your garden from seed.
Pros:
- No keeping up with the clutter of cups, containers and pots for planting in.
- Eliminates the need to sanitize a bunch of cups/pots after plants have been transplanted.
- Soil blocks transplant easily without disrupting the roots of the plant.
- Since the blocks are square, you can fit more of them in a tray than round cups, making the most of your growing space.
- Even root crops can be started indoors and transplanted without disrupting growth.
- Easily transplant smaller blocks into larger ones as needed, without shocking the plant.
- A one time investment which can be used over and over again, season after season.
I’ve only experienced two slight “cons” with these soil blocks.
Cons:
- The mini blocks dry out pretty quickly, and require more attention.
- You need to wait until the plants are grown a bit before you bottom water the blocks (so the roots help hold the block together). Spraying with a water bottle takes more time than bottom watering.
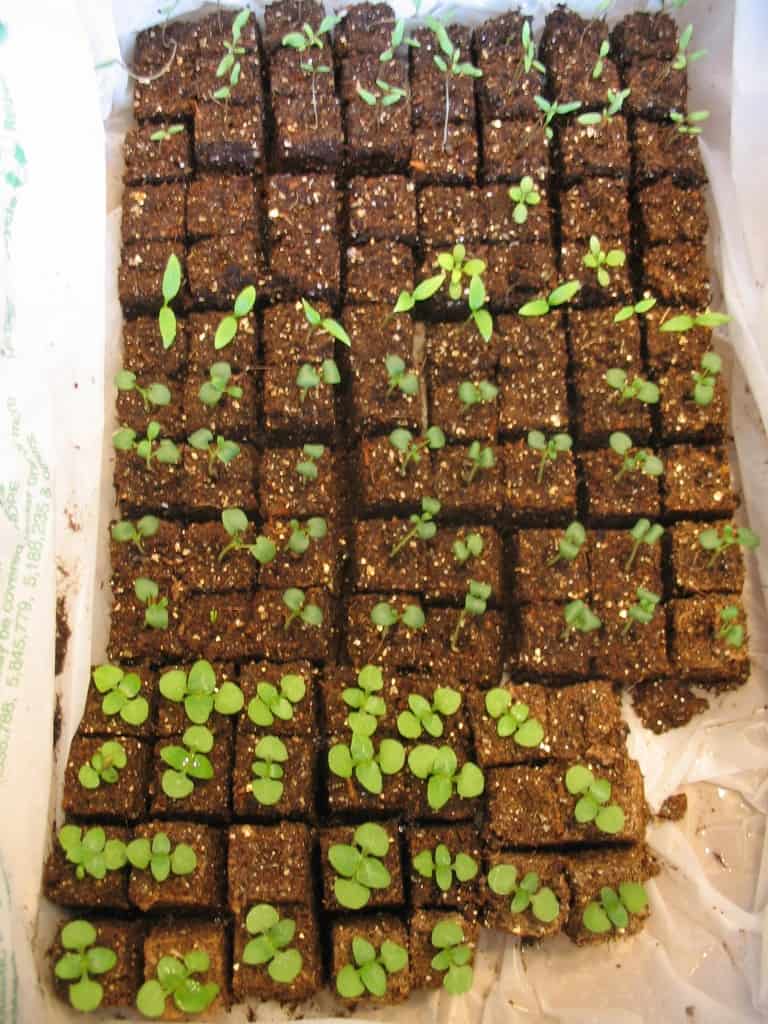
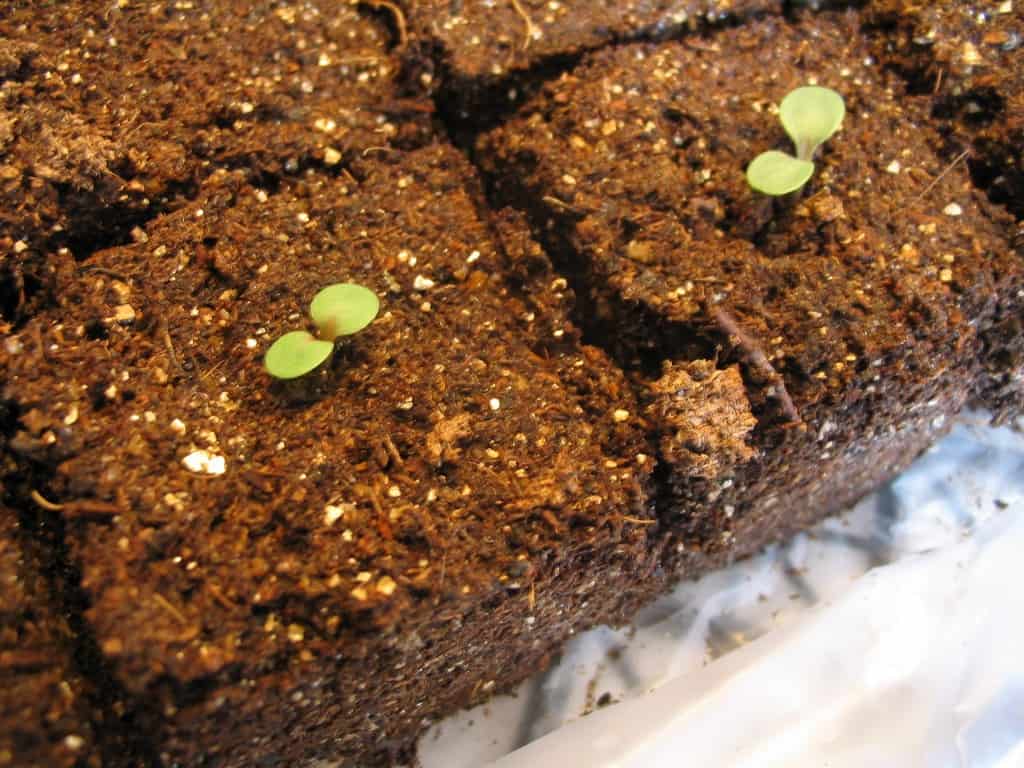
Here are several of my herbs growing in the micro blocks. I had a really great germination rate with most of my seeds.
If the plants get too big for their soil blocks before it’s warm enough to transplant them outdoors, I’ll simply transplant them into larger soil blocks to continue growing until I can put them in their permanent home in the garden.
Get Your Own Soil Blocker
Soil Blockers come in different sizes, from the micro shown here to a large Maxi 4″ Soil Block Maker. You can get a Mini Soil Block Maker (the one that makes 2″ blocks) for about $30.
Are you starting seeds in a Soil Blocker? Any additional tips to share?

A city girl learning to homestead on an acre of land in the country. Wife and homeschooling mother of four. Enjoying life, and everything that has to do with self sufficient living.
Just for peoples info, all the links to the block maker are dead……they seem to be selling chicken stuff now.
thanks for sharing…I have never seen anything like that before. How much root growth is required before you can move the blocks? I have 2 mini indoor “greenhouses”. The first is the started, the second for larger growth.
oldschool,
You don’t have to wait for the roots to grow before you can move the block. It can easily be picked up with the tongs at any point. Great question! 🙂
I need to get my act together…for weeks I’ve been telling myself to sit down and figure out my seed order. I thought about trying my hand at winter sowing, but I don’t know if it’s too late for that even though it’s March and we’re barely in the twenties most days. Love seeing your little green shoots sprouting out of the dirt. I can’t wait to get dirty!
Melissa,
I’d suggest that you start thinking about your Spring crop. This would mostly be brassicas, root crops, peas, and leafy greens. They can stand light frost, so plant before your area’s last frost date.